How To Set Up G Suite Email In Outlook For Mac
In addition to accessing G Suite mail from the Gmail web interface, users can send and receive mail from their favorite desktop. If you're a Gmail user looking for instructions about how to sync your account using IMAP or POP with a client, such as Outlook or Thunderbird, see POP or IMAP. Windows and Mac mail clients. With a split delivery setup, you setup G Suite, then point your MX (mail. People who use Microsoft Outlook can migrate data using the G Suite Apps Migration for Microsoft Outlook tool. Mac users can use the Google Email Uploader for Mac.
Note: Features and information in this guide apply to Outlook Mail as available through Office 365. Differences* The most noticeable differences between email in Outlook and Gmail are: • In Outlook, you organize your messages using Folders. In Gmail, you use Labels. • In Outlook, you automate actions on incoming messages using Rules (), and sort and filter your messages using Filters (). In Gmail, you automate actions on incoming messages with Filters. • If you had set up a Signature or Vacation responder in Gmail, you will need to recreate them in Outlook, using Email signature and Automatic replies ().
 Features and built-in content Video Editor 15 for Mac Video Editor 15 Plus for Mac Essential video editing Filters, transitions, titles, effects Montage Wizard Maximum number of tracks on the Timeline 6 99 Keyframe animation of titles, overlay video, etc. Check out Movavi Video Editor Plus for Mac!
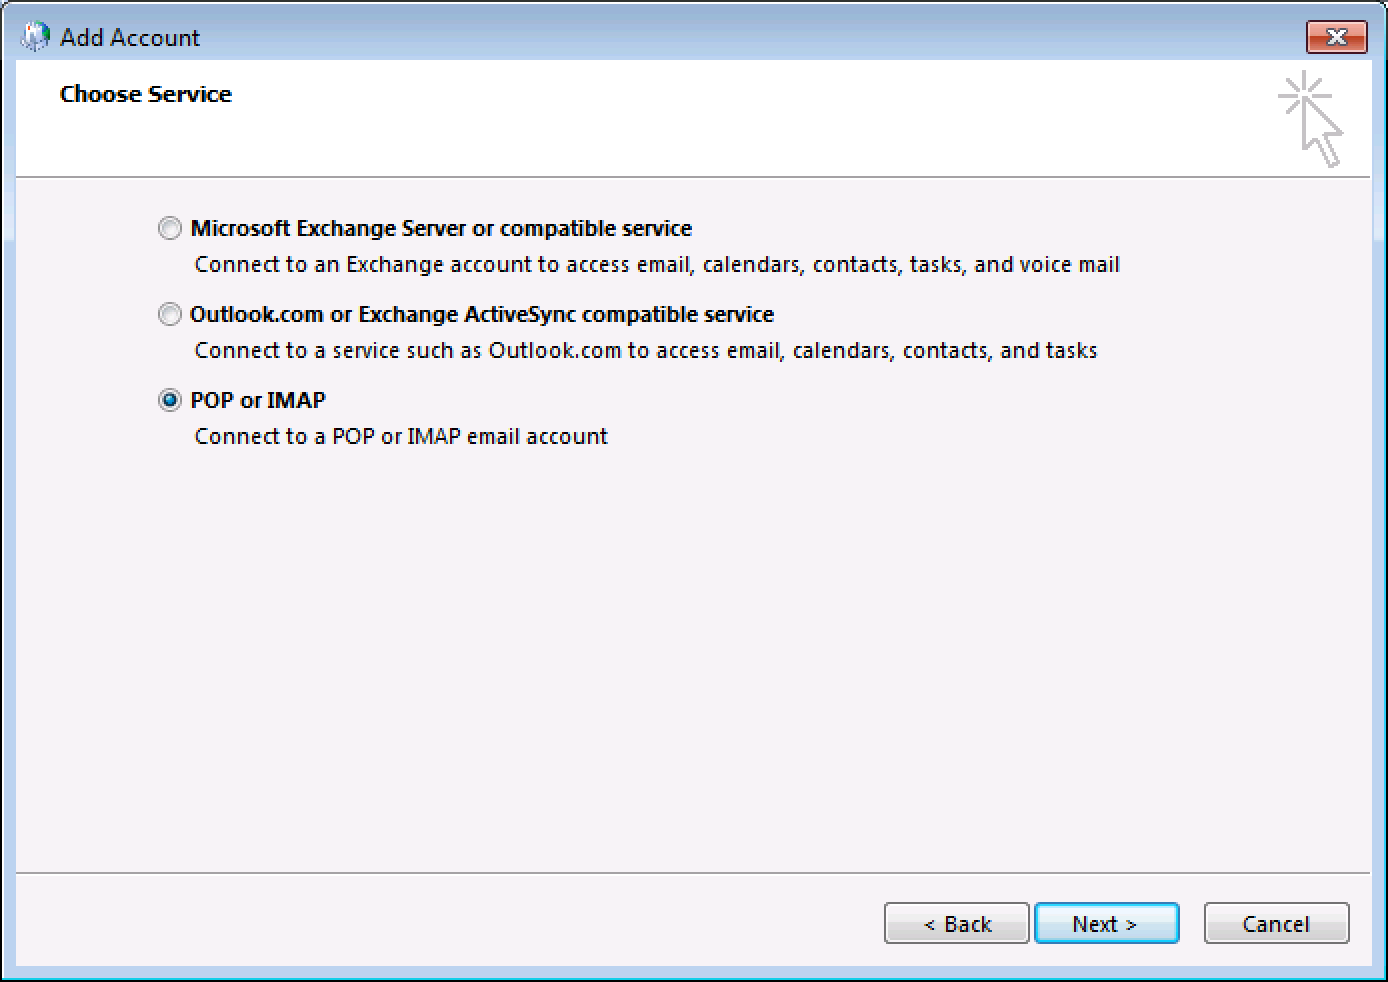
Outlook for Mac 2011 Outlook for Mac can automatically set up accounts from many popular email service providers such as Outlook.com (previously known as Hotmail), AOL, Gmail, MobileMe, and Yahoo. If Outlook can't set up an account automatically, you can configure it manually. When setting up manually, you’ll need additional information about your account, for instance the account type and addresses of mail servers. Outlook supports both POP and IMAP accounts. To learn more about each account type, see.
Set up an Exchange account • Open Outlook for Mac 2011. On the Tools menu, click Accounts. If this is the first account you're creating in Outlook 2011, under Add an Account, click Exchange Account. If you've previously created an email account for a different email address, in the lower corner of the Accounts dialog box, click, and then click Exchange. • On the Enter your Exchange account information page, type your email address. • Under Authentication, make sure User Name and Password is selected.
If I select a cell containing a formula, I know I can drag the little box in the right-hand corner downwards to apply the formula to more cells of the column. There are different ways to apply formula in an excel without using mouse. * Ctrl+Enter * * Select all the cells you want to fill it across by using shift+Down arrow key. But I suppose what you mean is that you want to autofill the formula without using a mouse. Does anybody know the keyboard shortcuts or menu commands to fill a formula down without dragging? I'm using Excel for Mac 2011 on a MacBook. Copy formulas into adjacent cells by using the fill handle. When you drag the handle to other cells, Excel shows different results for each cell. To change how you want to fill cells, click the Auto Fill Options button that appears after you finish dragging, and pick the option that want. Excel for mac formula autofill without dragging.
• In the User name box, type your complete email address. In the Password box, type your password. • Make sure Configure automatically is selected, and then click Add Account. • After you click Add Account, Outlook will perform an online search to find your email server settings. In the dialog box that asks if you want to allow the server to configure your settings, select the Always use my response for this server check box, and then click Allow.
• If Outlook is able to set up your account, you'll see the account you set up in the Accounts dialog box. Close the Accounts dialog box. If Outlook isn't able to set up your account, see the next section in this article.