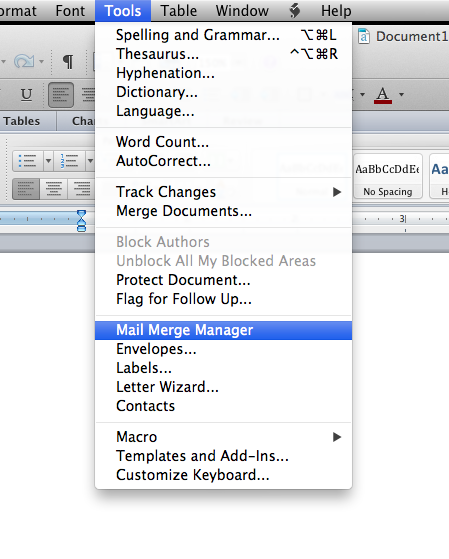
How To Create A Mail Merge In Word 2011 For Mac
Under #1, select Form Letters from the Create New dropdown choice. Under #2, click 'Get List' and select 'Open Data Source' and then pick your excel file. For me, it will be names_and_numbers.xlsx.
This creates a new document with your labels. I always print this on plain paper and hold it up to a bright light with the real label paper behind it to make sure no one’s address slops over a line.
This can often happen with long addresses, or where a husband and wife have two different names. I like to correct these before printing. After circling back to this point and getting an acceptable print, you are free to stick your highly priced labels into the printer and simply print as you would any other document. I use an Excel sheet for addresses. When I merge, I filter the contents for only records that are “Not Blank” in a column called Holiday Labels.
This filters out those I do not want to send cards to. When I do this, it omits similar names that are correctly labeled in the Holiday Labels field. For example, it will include the first person with the last name Smith, but all the other Smiths are omitted. If I run the Mail Merge without the filter, this does not occur, but I now have names of those I do not want labels for. Any help on how to fix this would be appreciated.
Surf faster and smarter! Mozilla firefox 2.0 free download for mac.
My version of Word 2011 for Mac is 14.5.1.
Applies To: Word for Office 365 for Mac Word 2016 for Mac When you have bulk mail to send to people on your mailing list, you can use mail merge to create a batch of personalized letters. Each letter that is produced has identical layout, formatting, text, and graphics. Only specific sections of the letter vary and are personalized. Media player for mac 13.6. There are three files involved in creating and printing letters using the mail merge process: • Your main document This document contains text and graphics (a logo or image, for example) that are identical for each version of the merged document. The body of the letter is an example of identical content. • Your mailing list This document contains the data that is used to populate information in the letter.
Your mailing list has names, for example, and your main document is the letter that will be addressed to the names in your list. • Your merged document This document is a combination of the main document and the mailing list. Mail merge pulls information from the mailing list and puts it in your main document, resulting in a personalized for each person. Follow the steps below to create and print personalized letters using mail merge. The mailing list is your data source. It can be an Excel spreadsheet, a directory of Outlook contacts, an Access database, or an Office address list.
It contains the records that Word uses to pull information from to build your letter. Tips • If you don’t have a mailing list, you can create one during mail merge.
Before you start the mail merge process, collect all of your data records, and add them to your data source. • If you're using an Excel spreadsheet, make sure the column for ZIP Codes or postal codes is so that you don't lose any zeros. • If you want to use your Outlook contacts, make sure Outlook is your default email program. To do this, open Apple Mail, and on the Mail menu, choose Preferences. On the General tab, next to Default email reader, select Microsoft Outlook • You can also use your Apple contacts, make sure Apple mail is your default mail program.
• Use FileMake pro database as your datasource for mail merge. • On the Mailings tab, choose Select Recipients, and then choose an option. Tip: To change the order of the fields, select the field you want to move, and then use the up or down arrows to move the field where you want in the list. • When all of the fields are set up the way you want them, choose Create to create the list. • If you selected Use an Existing List, follow these steps: • Browse to the file you want to use and choose Open. • If you chose to open an Excel spreadsheet, In the Open Workbook dialog box, select the sheet you want to use, and leave Cell Range blank to use the entire worksheet or enter a cell range for the data you want to use, and then choose OK.

• If you selected Choose from Outlook Contacts or Apple Contacts, follow these steps: • Choose Filter Recipients to select the recipients you want to include. • For Outlook contacts, in the Query Options dialog box, next to List mail merge recipients by, select Complete record. In the list of contacts, select the contacts you want to send bulk mail, and then choose OK. • For Apple contacts, in the Query Options dialog box, under Apple Group Contacts, choose the group you want send bulk mail and then choose OK. • For FileMaker Pro Database, choose the database file in the Choose a FileMaker Pro Database to use as a Data Source dialog box and choose Open.